Cocktail napkins are somewhat a luxury linen item that most of us do not typically splurge on, but we all love them because they seem so fancy and cute! These cocktail napkins can also be used as hot or cold drink coasters and finger napkins for hors d'oeuvres, and they are easy to make. I love the chunky texture of the hand embroidery, and it really does not take very long to embroider...you can do this part watching tv or at your kid's hockey game.
Please post pics if you make these napkins. I would love to see them! Tag me on instagram @stephanie.socha.design; facebook stephanie socha design; twitter @sfsinteriors
1. Fabric: I used 100% decorator linen from Fabricut, which is a to the design trade home decorator fabric source. However.... Hawthorne Threads carries a beautiful selection of Kaufman Essex Linen, a linen/cotton blend. This Cotton & Steel fabric would be great to fussy cut a different flower/pattern for each napkin if you wanted to forego the hand embroidery Mochi Floral.
2. Size: standard custom cocktail napkins are between 5" - 6.5" square. I cut my fabric at 7" squares to end up with a finished size of 5.75" with 3/8" seam allowance. Note: you can do a 1/4" seam allowance, but I like the added structure 3/8" gives the perimeter of the napkin without too much bulk. Make two squares... a front and a back of the napkin.
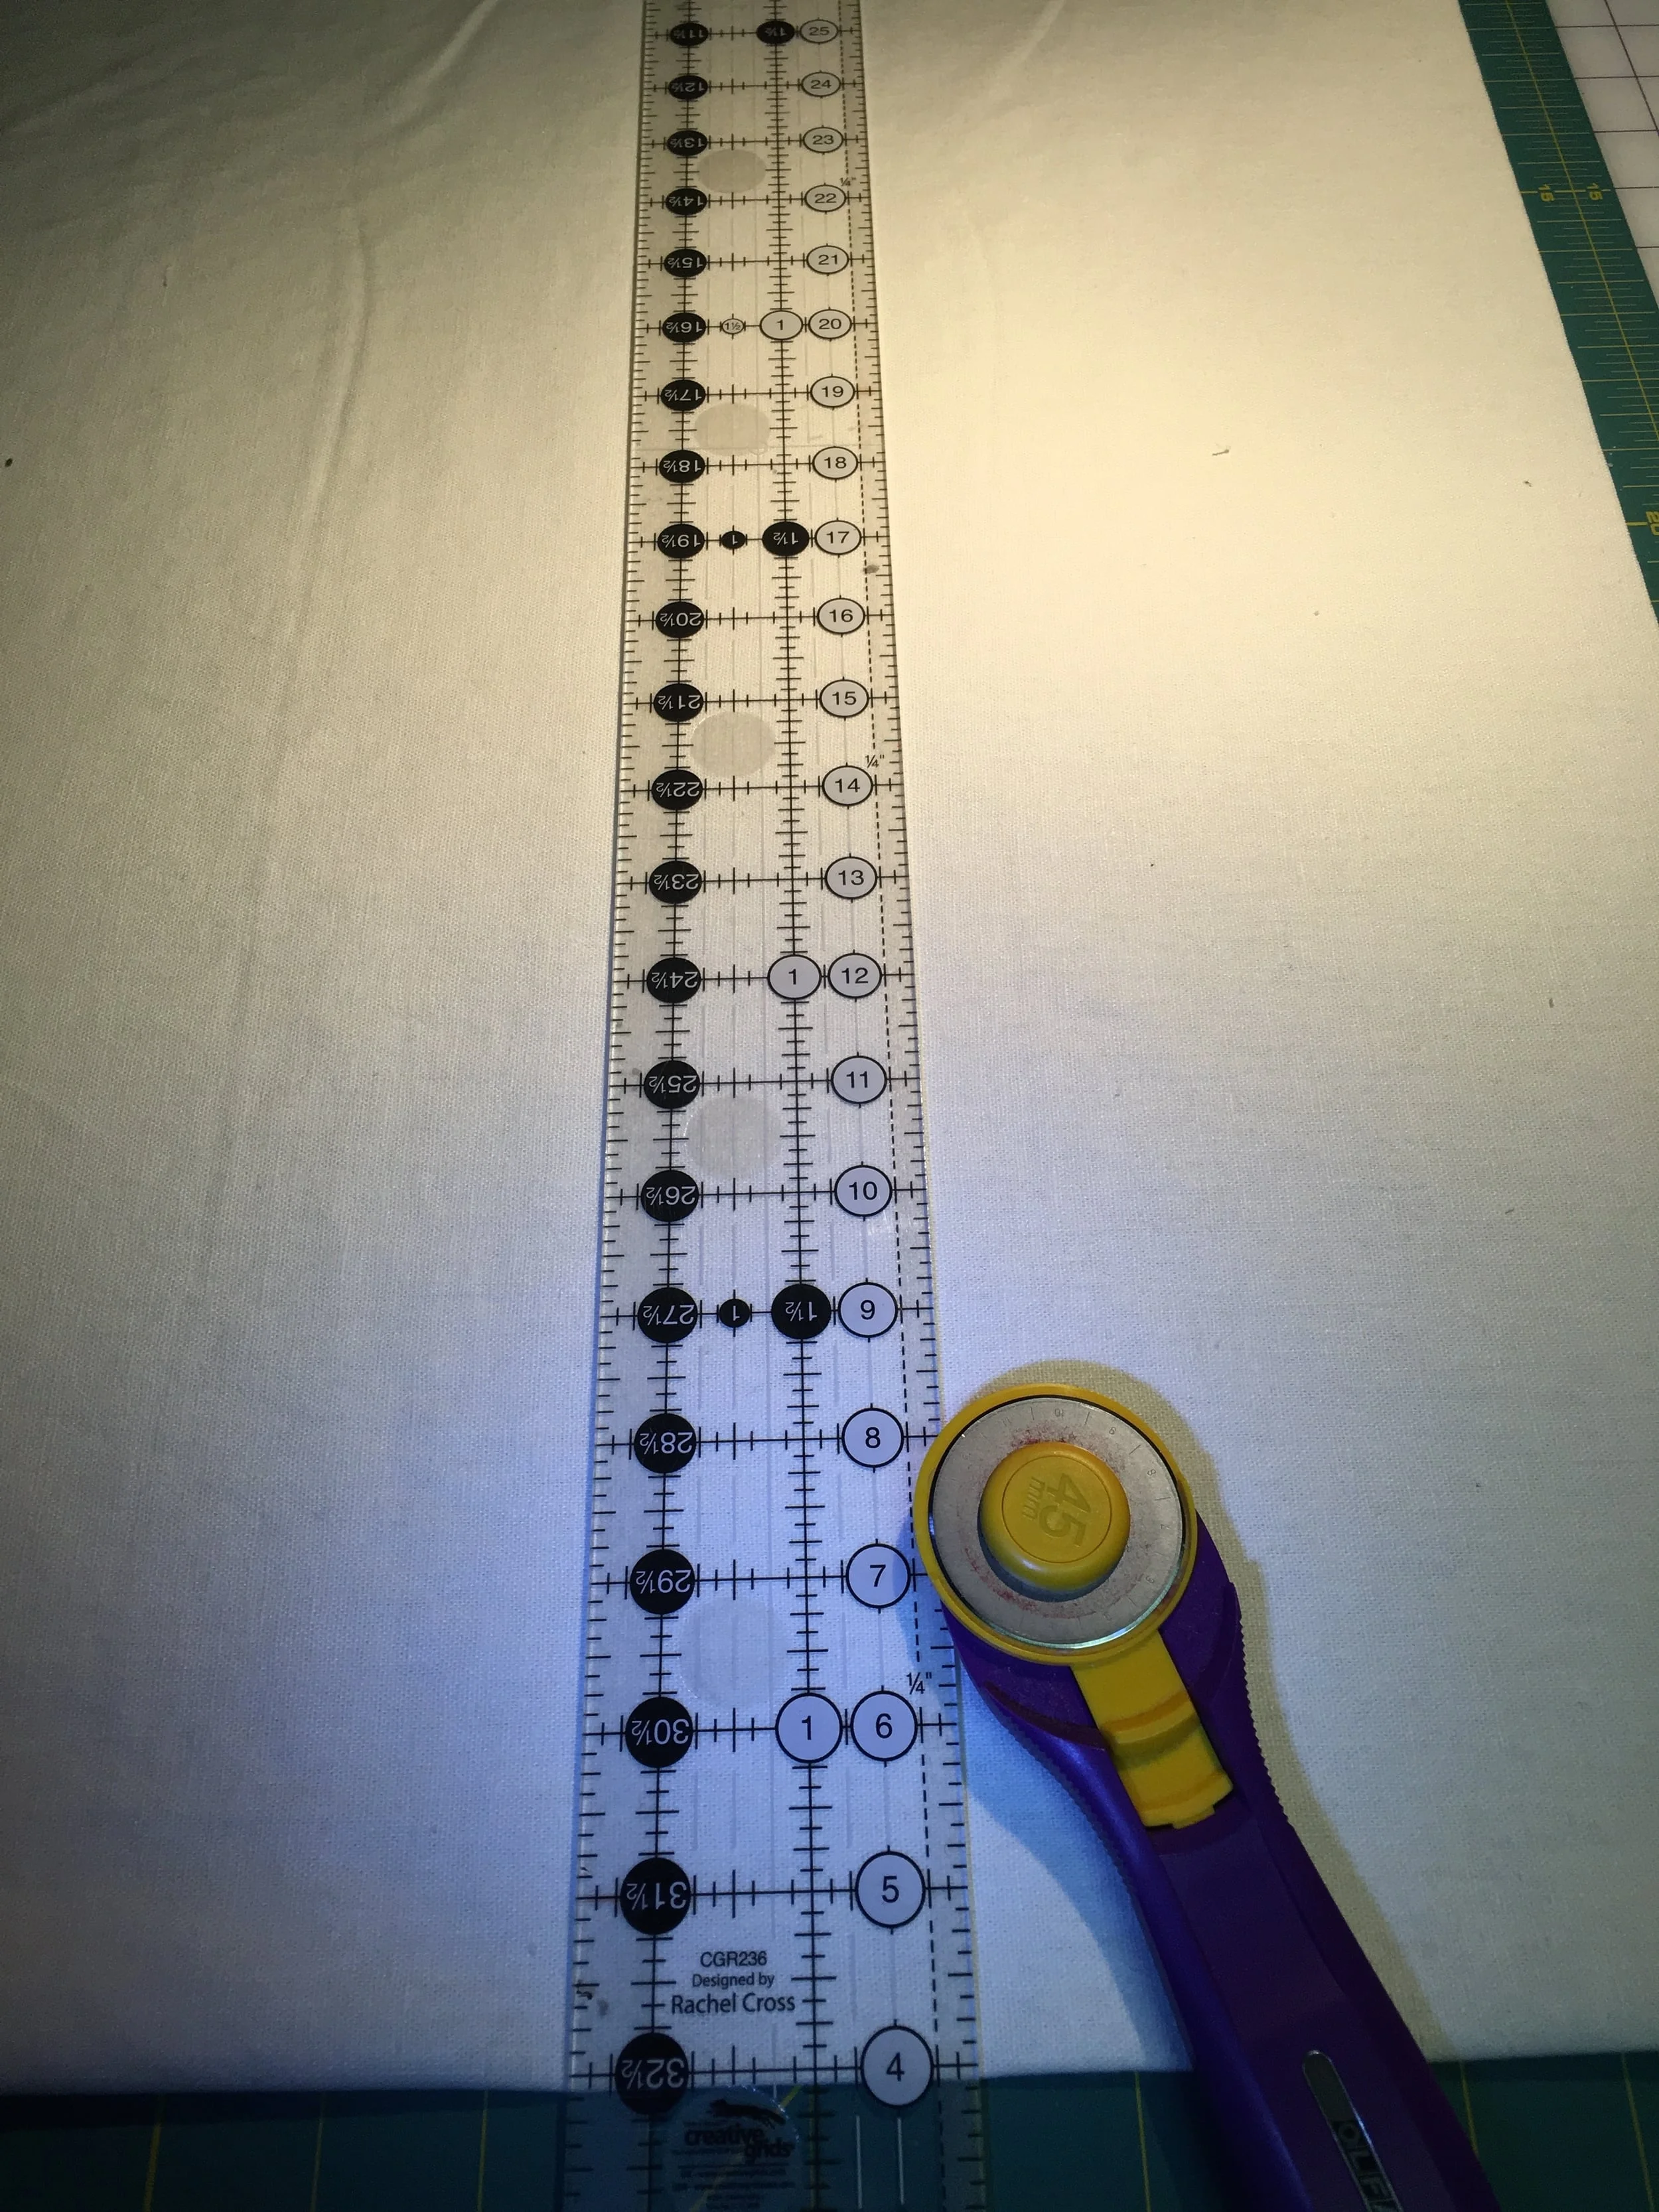
Rotary cut 7" squares, or if you are luck enough to have a big accuquilt or sixxiz, then die cut away!
Tip!! use trace paper to draw your monogram onto - you will be able to see the backside perfectly for transferring to the fabric
3. I like to draw my own monogram letters, but you can also print one out to the desired size from your computer.
4. There are many transfer techniques and methods out there. This one is an easy trace and iron with an iron transfer pen. (you could also print the letter onto iron transfer paper - just remember to print the letter backwards)
I love this Sulky Iron-on transfer pen (and I'm not paid for saying so :)
5. Transfer monogram to center of napkin with an iron. I turned the steam off for this part. Also hold the press for a good long moment before lifting. The transfer will be darker with a longer press time.
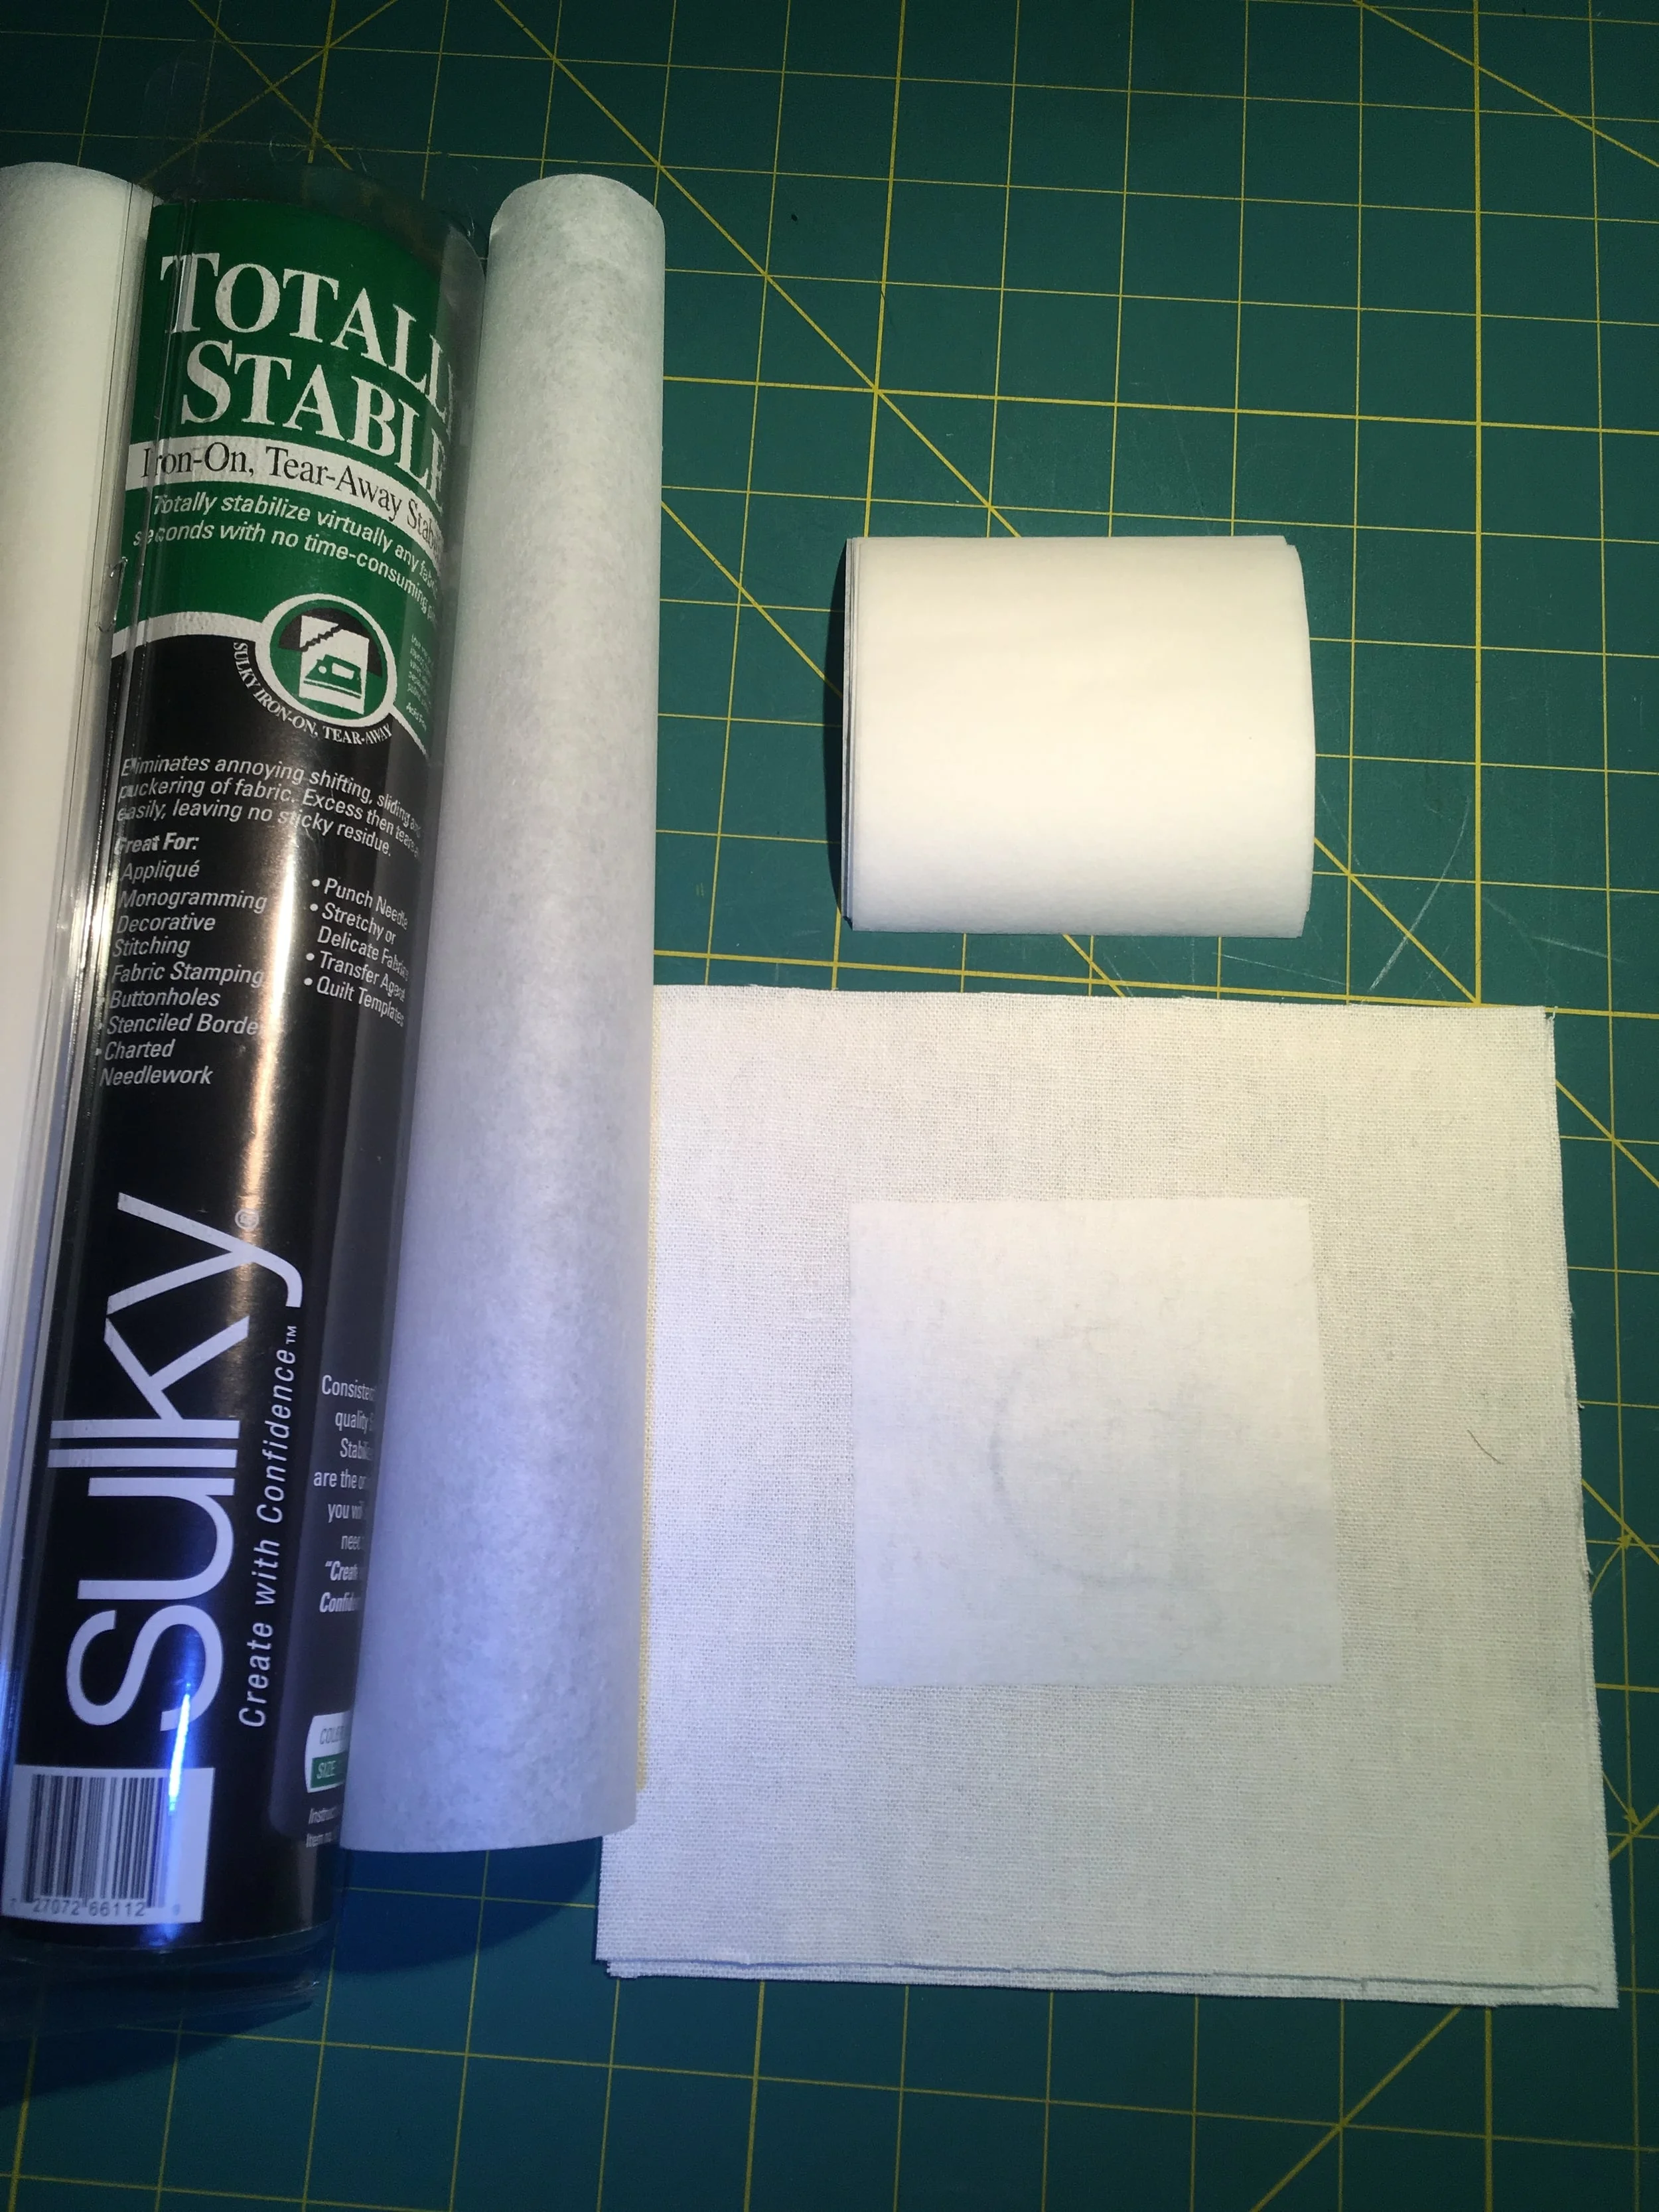
Iron on tear away stabilizer is AWESOME! Again, free marketing for Sulky.
6. Prep for hand embroidery. Stabilizer is a must for hand embroidery, plus it makes the embroidery easier to stitch. You can use regular tear away stabilizer in your hoop. I used Sulky's iron on tear away stabilizer just behind the monogram.
7. Embroider the monogram. Place your stabilized fabric into an embroidery hoop. Use 6 strand embroidery floss for the split stich. Here is a great tutorial from Sublime Stiching on the split stitch. Tear off the stabilizer after you finish the split stitch embroidery, careful to not pull or stretch the stitching.
8. Sew the napkins! Place the front and back of the napkin right sides together. Stitch a 3/8" seam around the napkin, LEAVE a 2.5" opening for turning. Clip corners.
9. Turn napkins right side out, Press. Note: press the opening seam allowances inside as if they were sewn all around.
10. Topstich around perimeter of napkin. This will close up the opening and finish the napkin all in one! Note: you can hand slip stitch the opening closed if you prefer, prior to top stitching.
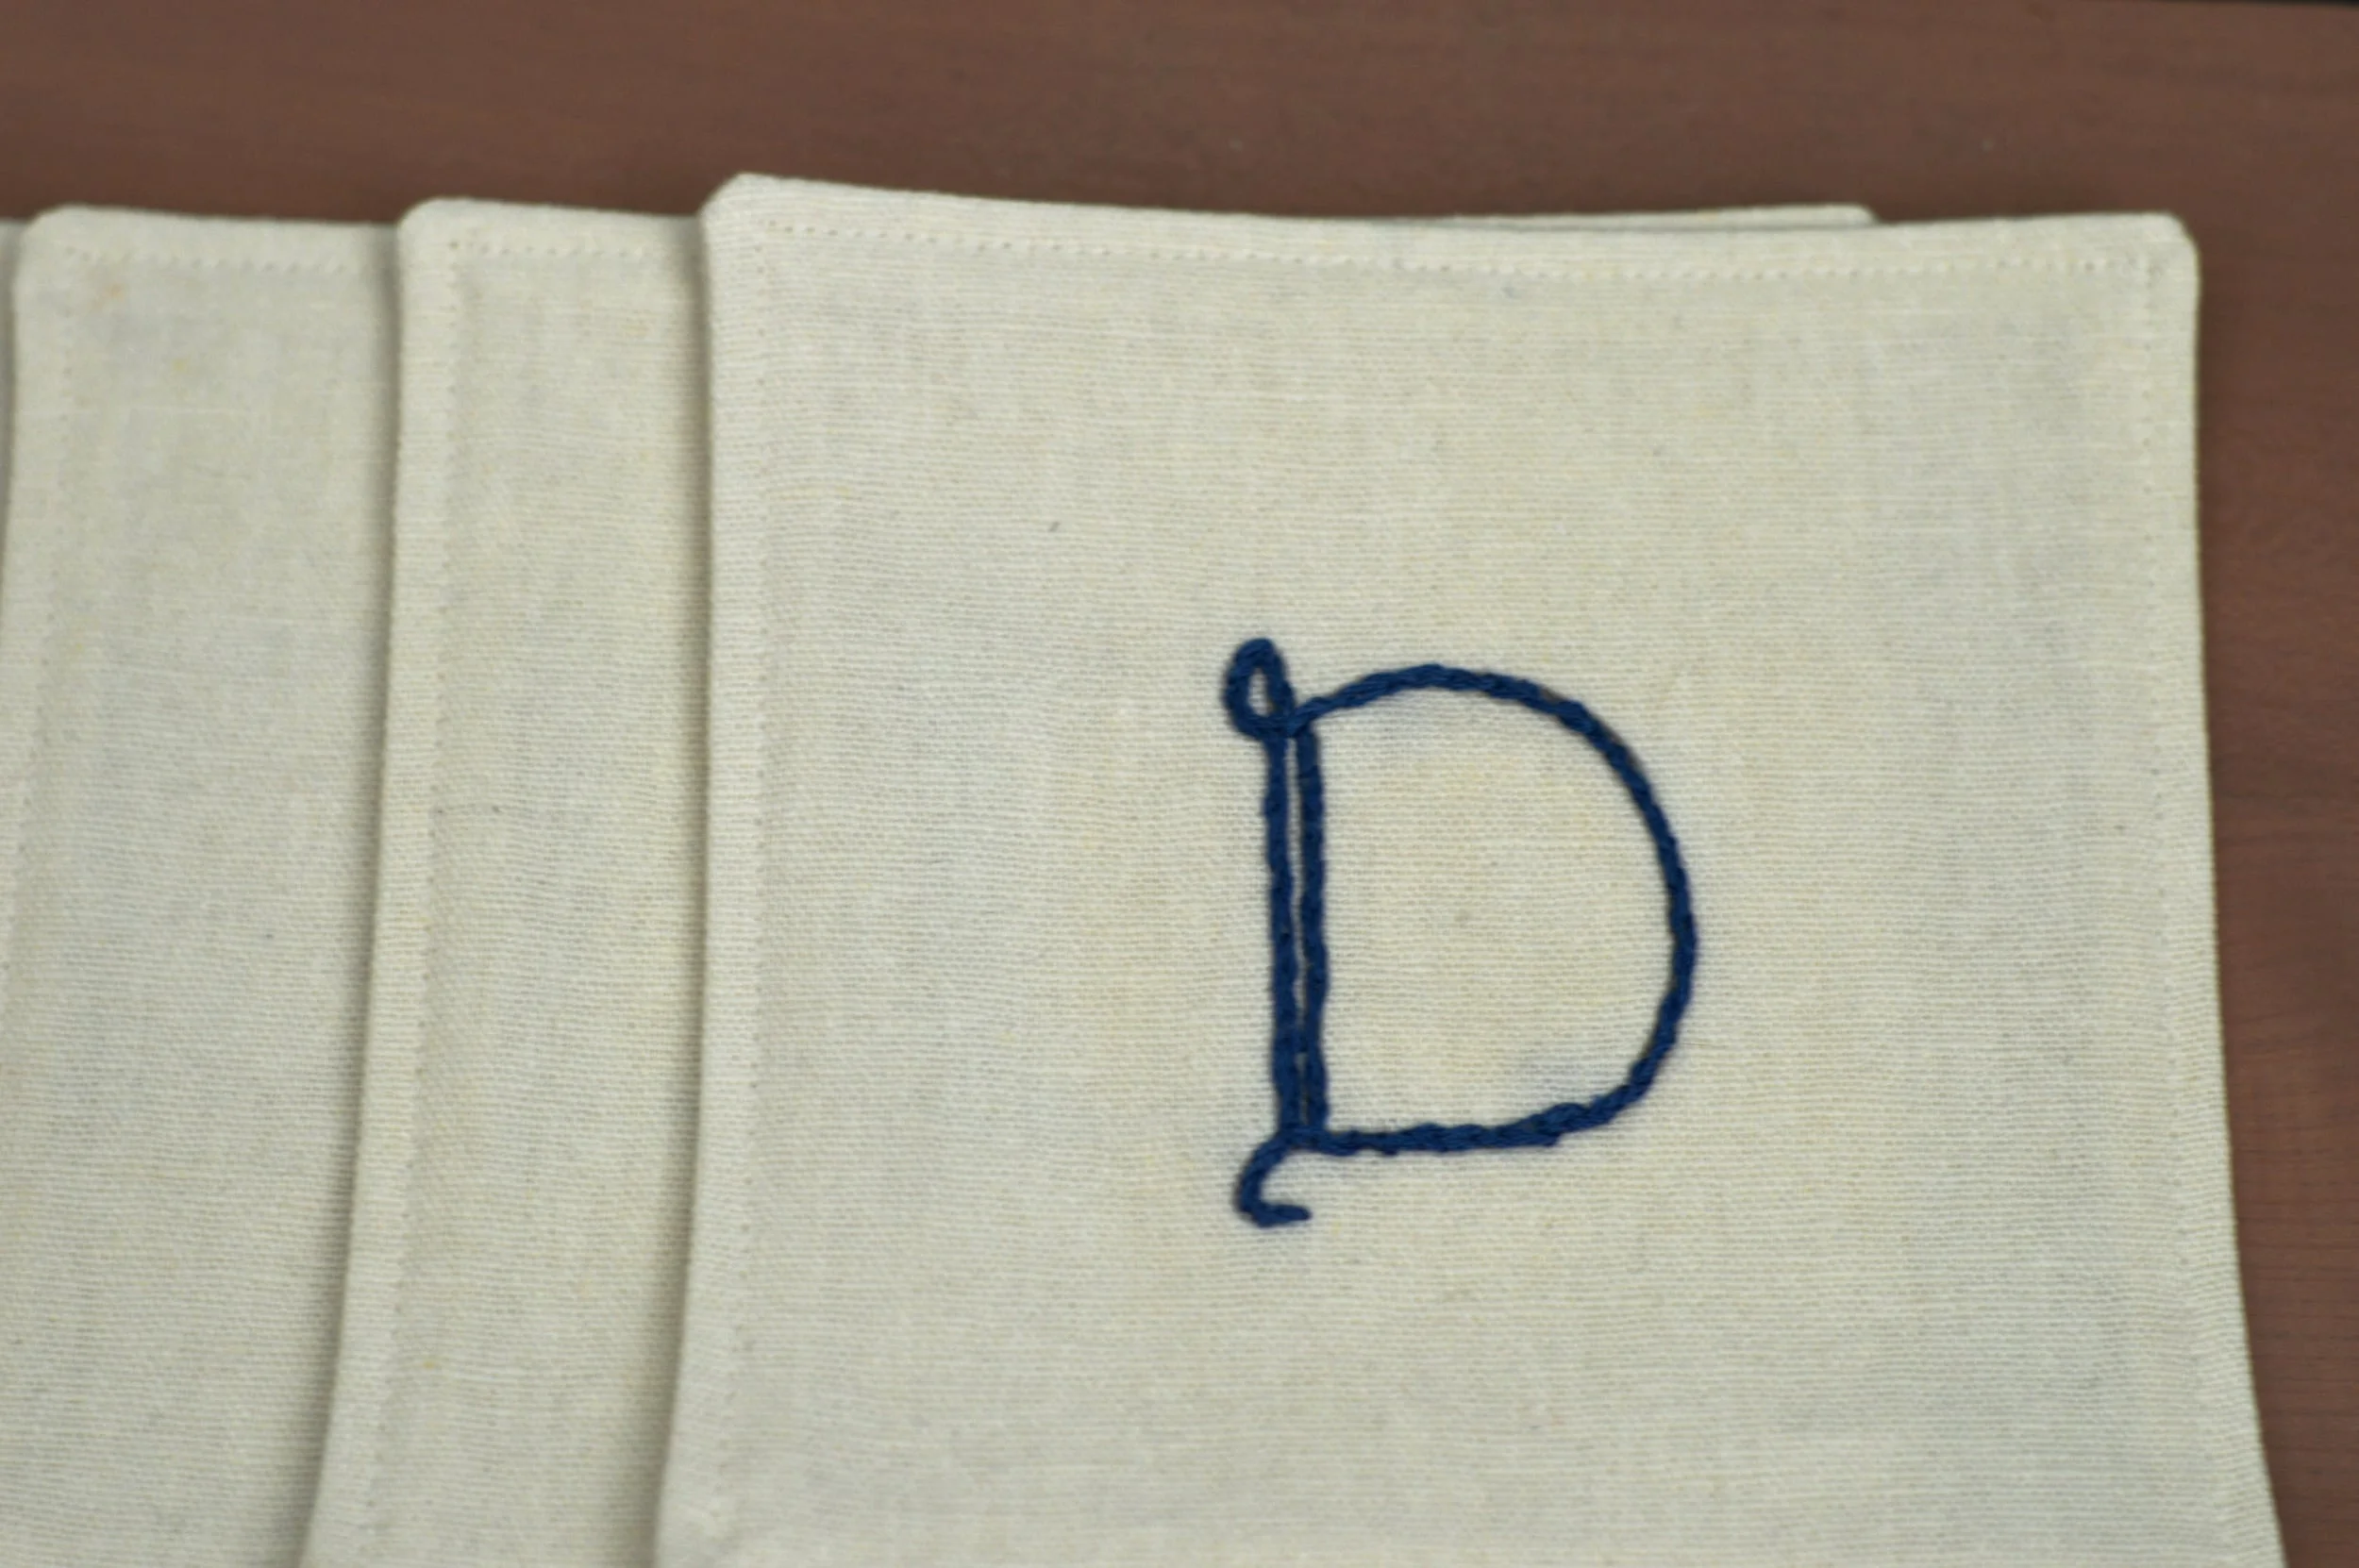
Hand Embroidered Linen Cocktail napkins